To add Share Factory Studio Bits Sound FX on PS5, go to Bits Editor and follow the steps through to the Personalise screen, set the starting position on the video for Sound FX, and then select Sound FX. Choose from Ambient, Voices, or Special, pick your sound FX, and adjust its placement and volume. Let’s explore this further.
How to add Bits Sound FX on Share Factory Studio PS5 – (Step by Step)
Welcome to this step-by-step guide on how to add Share Factory studio bits sound FX to your video on PS5. Follow along to enhance your video editing skills and create engaging content using Share Factory Bits Editor.
1. Open Share Factory Studio on the PS5
- Launch Share Factory Studio on your PS5 from the main menu
2. Go to Bits Editor
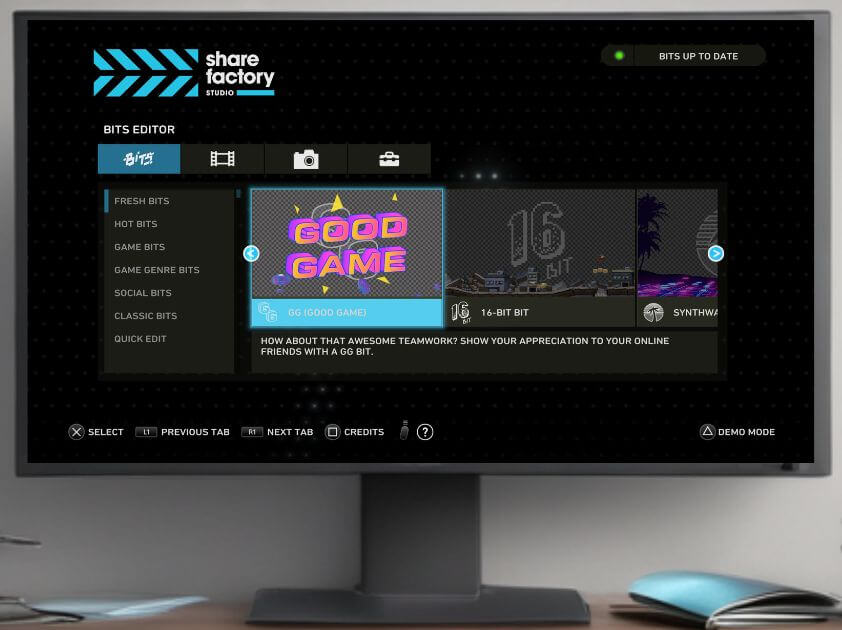
- Go to Bits Editor on the left-hand side of the Main Menu, scroll down to choose Bit Type and then across to choose Bits Style you want to use for your video, Press X to confirm
3. Choose a Video Clip or Screenshot
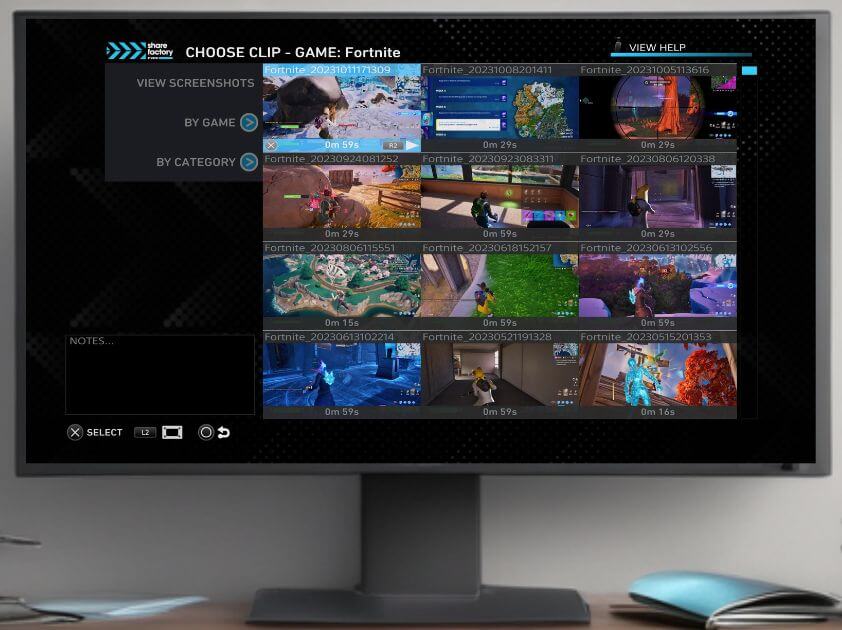
- Press X on the clip/screenshot you want to use.
- Use the Left and Right sticks to choose which part of the video clip you want to edit (Sometimes you can’t change this). Press X
4. Navigate to Sound FX
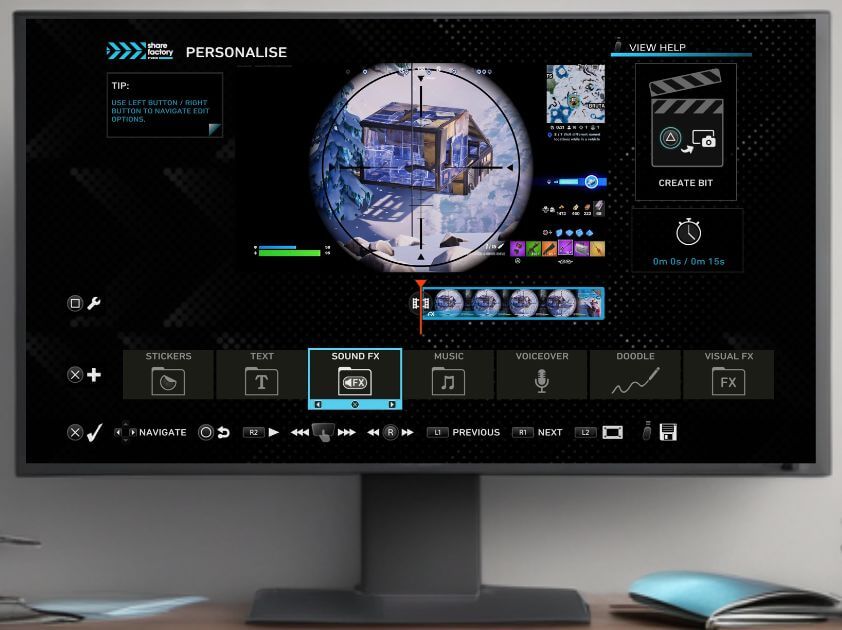
- Scroll along the bottom options until you get to Sound FX. Press X
5. Explore Bits Sound FX Categories
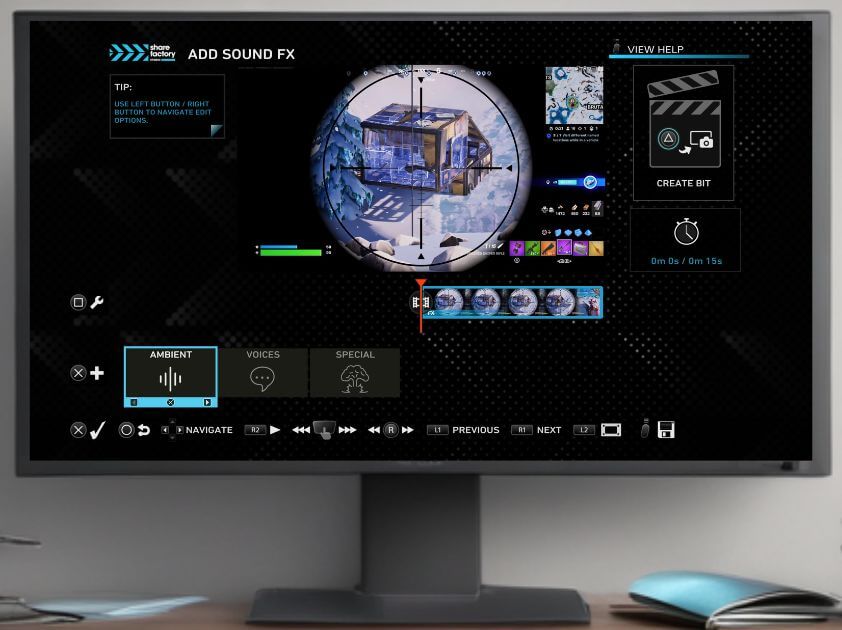
- You will see three Bits Sound FX categories: Ambient, Voices, and Special. (Note in some situations not all 3 are available)
- Ambient has 3 sounds
- Voices has 13 sounds
- Special has 15 sounds
- Press X to confirm your category choice
6. Preview and Choose Sound FX
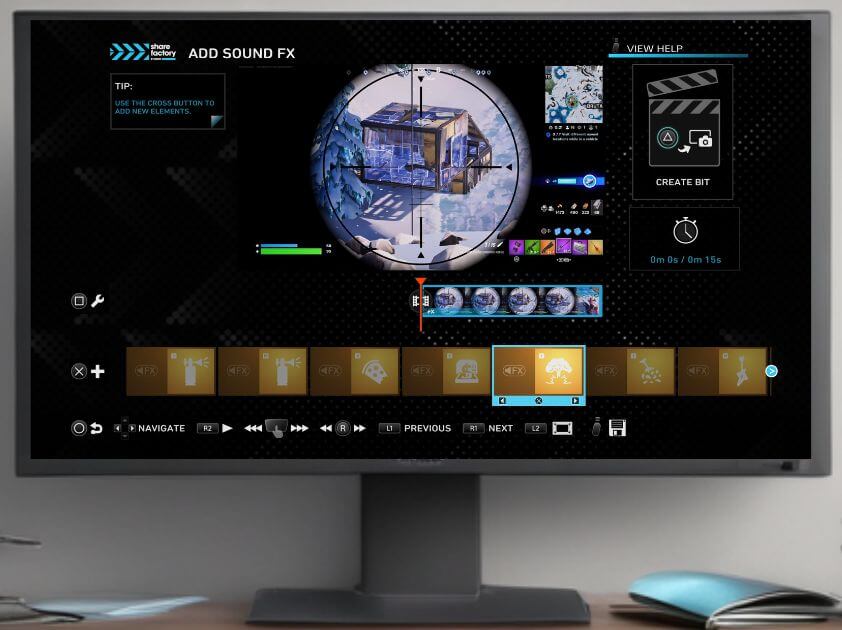
- Browse through the sounds by scrolling across them, the sound FX will play each time you move on to a new sound FX. Press the cross button X to place the sound FX
7. Add Sound FX to Timeline
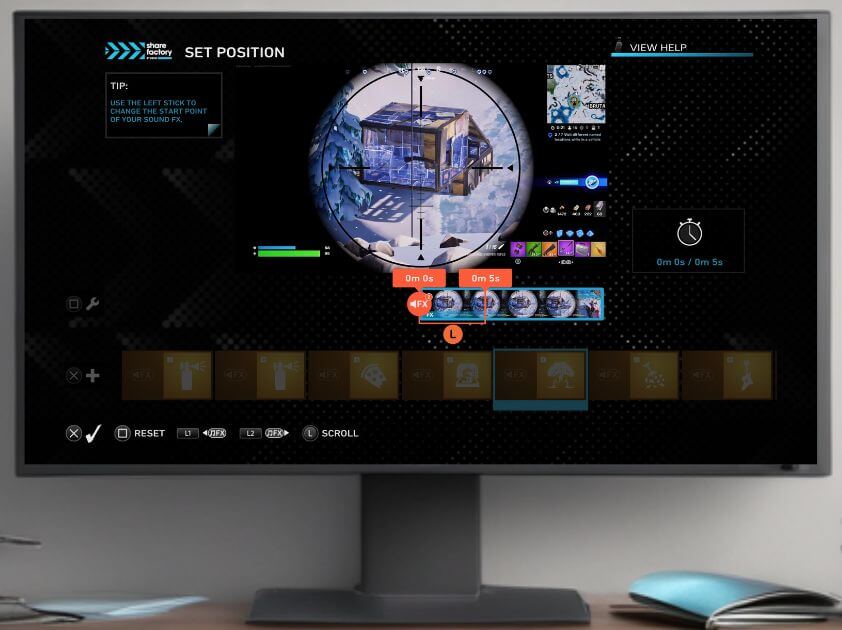
- Use the left stick on the controller to move the sound FX to the appropriate place in your video timeline
- If needed, ‘fine-tune’ the starting position of Sound FX press L1 and L2 to move frame by frame
- Press X to place the sound FX
8. Fine-tune the Sound FX Placement
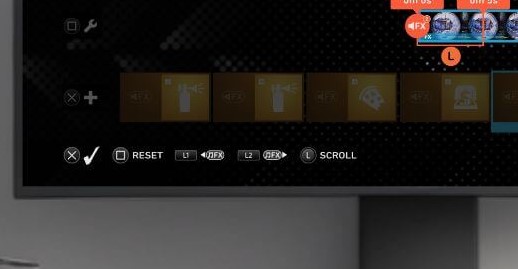
- Press L1 or L2 to Fine Tune the Sound FX starting position
- If needed, press the square button then X to access options like:
- Sound FX Position: Reposition the sound FX
- Sound FX Volume: Adjust the volume of the sound FX
- Delete Sound FX: Remove the sound FX if it’s not in the right place
9. Preview & Adjust
- Press the Controller Touch Pad to play your video: check if the sound FX is correctly placed
- Repeat the adjustment process if necessary until it’s perfect.
10. Finalizing Your Bits Video
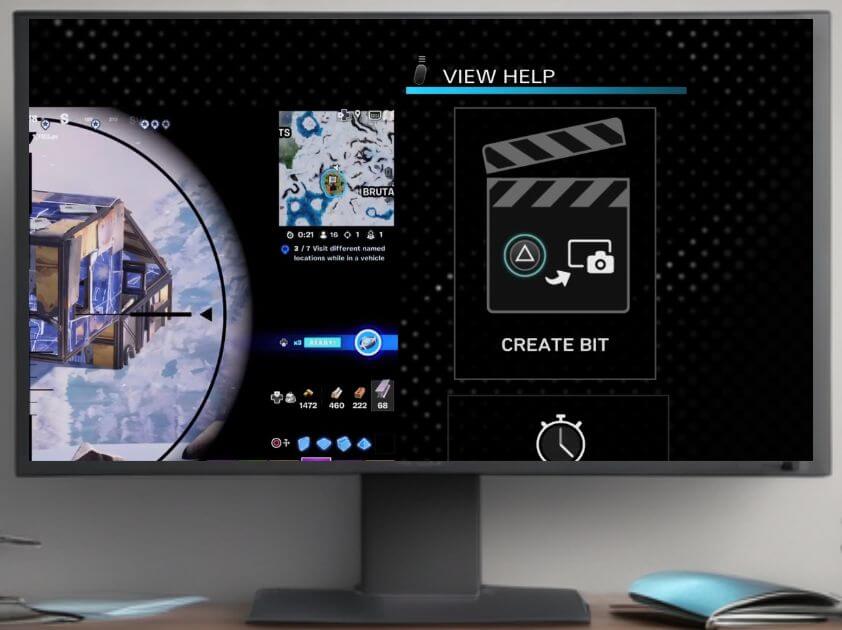
- Review: Once you’ve added your Sound FX and any other desired elements, review your video again by pressing the touchpad button on your controller to ensure everything is how you want it.
- Export: You need to complete your Bits video in one session, as you can’t save and return to it later. Export your video by pressing Triangle to “Create Bit”
Sharing and Further Editing
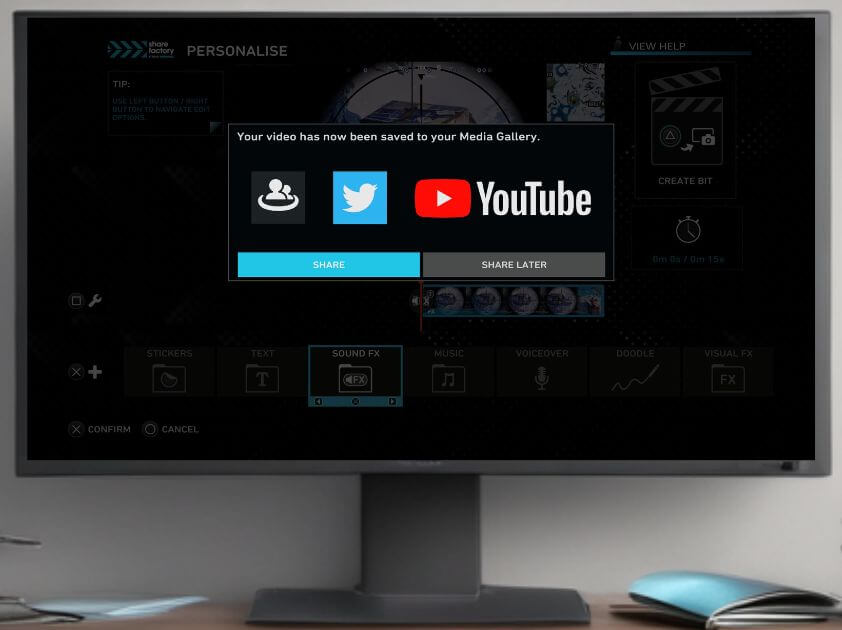
- Share: After exporting, you can ‘Share’ your video directly to YouTube, Twitter or Messages or ‘Share Later’ if you don’t want to share it now, or at all, it will be sat in ‘My Gallery’ on the main menu for future use.
- Further Editing (New Project): If you want to use your Bits video in a ‘new‘ video project:
- Go to the Share Factory Studio menu.
- Select the’ video editor’ and click on New Project below to create a new project.
- Choose any Creator Pack
- Choose Most Recent on the left-hand menu, move on to your exported clip, press X and then Square to add your exported Bits video to the project.
- Edit the project how you would like and then you can choose ‘Share’ to export it to YouTube, Twitter or messages as preferred or choose ‘Share later’.
Conclusion
Now you know how to effectively add Bits sound FX using Share Factory Studio on PS5, experiment with different sounds to enhance your videos and make them more engaging. If you found this guide useful, please subscribe to my YouTube channel NoMoreNoobie.
Additional Resources
Check out all the other Share Factory tutorials on our channel for more tips and tricks on video editing on PS5.
